
Video tutorial transcript:
Introduction
Hello, and welcome to this short video introducing image with multiple links campaigns.
This video demonstration will familiarise you with an image with multiple links campaign and how they are set up in Fredhopper’s Merchandising Studio.
Please be aware that test data is used throughout this demo, and you should refer to your own data sets when applying this functionality.
What is an image with multiple links campaigns?
These are very similar to the Image campaigns and allow the following:
- Allows merchandisers to create “hotspots” on singular images.
- Information on these hotspots are sent to the front end.
- When clicked on, these hotspots can redirect a customer to a different URL.
- Reduces maintenance and implementation effort for complex banners.
So how do we set up an image with multiple links campaign in the Merchandising studio? Let’s use a scenario to implement one.
The scenario is to create an image campaign with multiple links, is to show the campaign on every page. The image is to promote a sale across 4 categories; Women's, Men's, Kids and Homewear.
How to demo
Using your credentials open your Merchandising Studio. This will open on the campaigns tab by default:
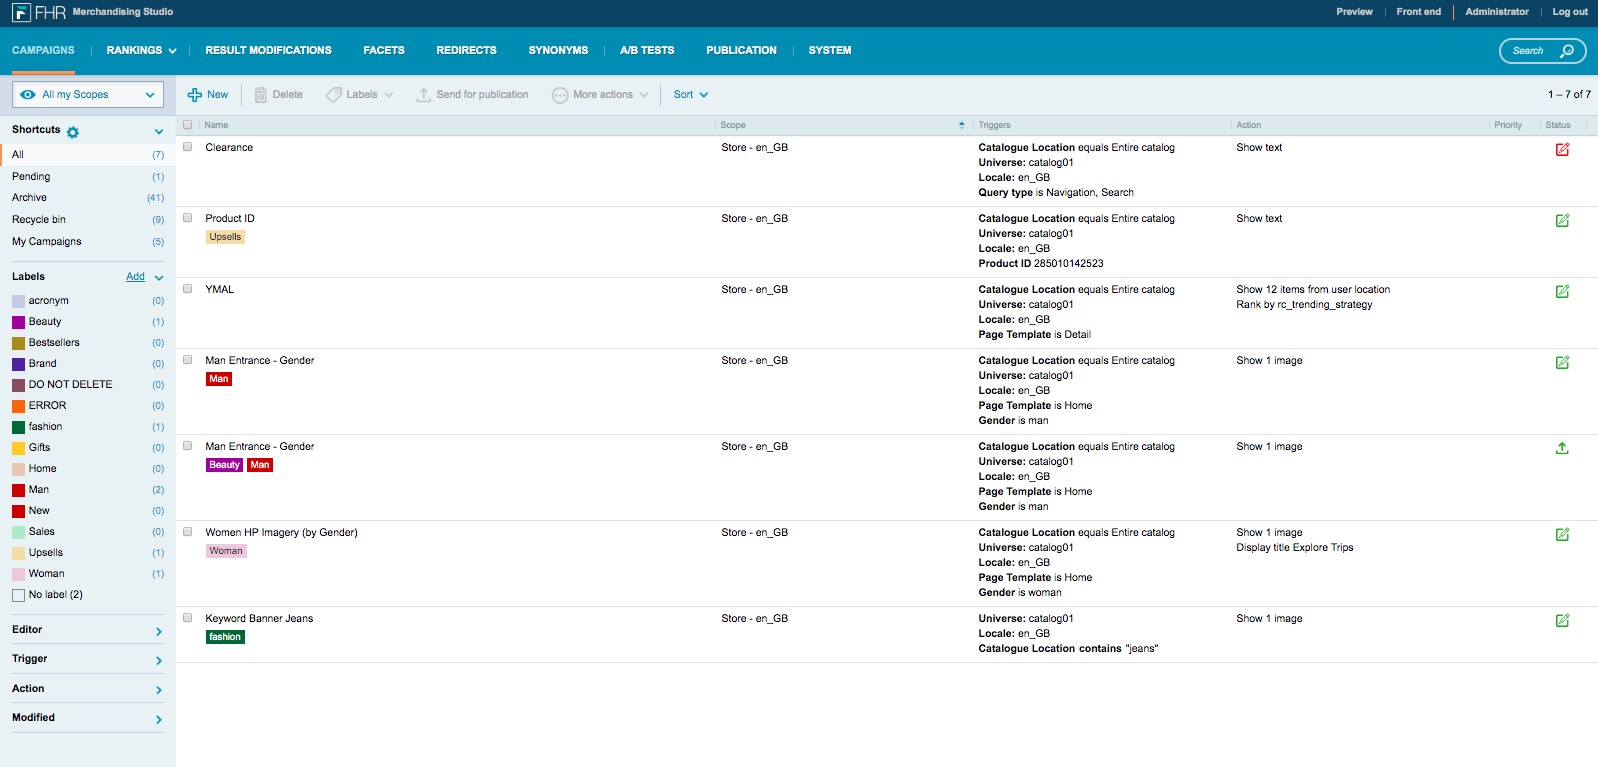
Next … Click on new:
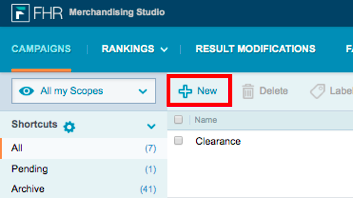
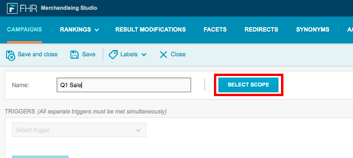
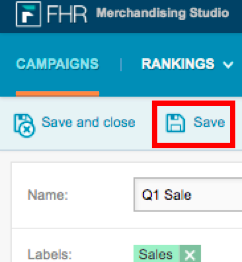
First, we need to give our campaign a name, so let's call this Q1 Sale:
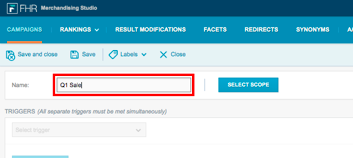
Don’t forget to add a label so you can find it easily in the list of campaigns:
Click SELECT SCOPE and choose the scope:
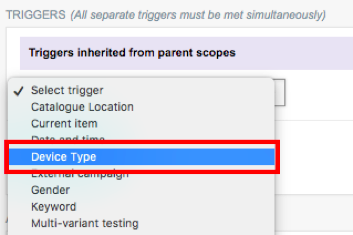
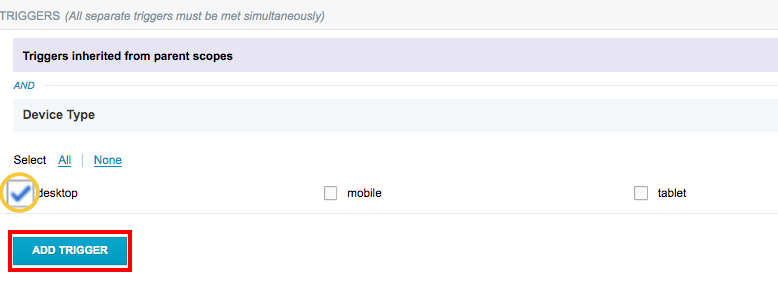
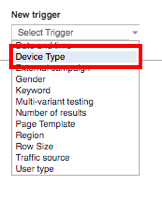
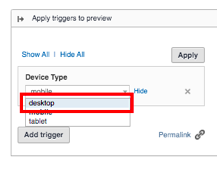
When setting up this campaign type, it is important that you set one up for each device type, mobile, tablet and desktop and any others that may be required for your business or shopper. As this ensures that the image and links render appropriately.
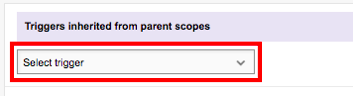
So let’s set this trigger up starting with desktop …
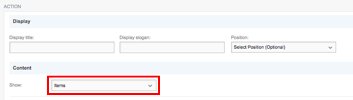
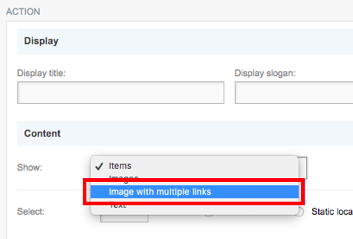
Scroll down to action; you’ll see that Items is already selected as default in the 'Show' dropdown. Change this to 'Image with multiple links'.
Next, we need to paste the Image URL:
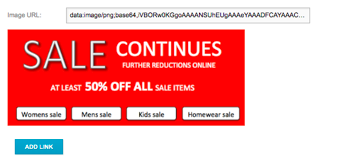
Then click outside this field, or press enter on your keyboard, so the image is displayed below the URL.
Now, you can add the links to each of the 4 sale categories in our image campaign, by clicking ADD LINK:
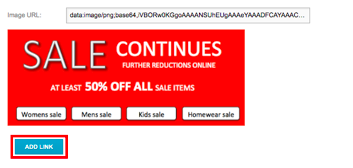
The link can either be to another URL or to a location on your site. For this scenario, we will use a location link.
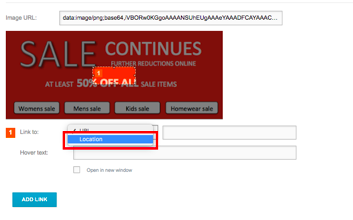
A hotspot box will appear, which you can drag and drop as required, you can adjust the size of the hotspot to fit the area on the campaign:

As I mentioned earlier it is best practice set up an image with multiple links campaign for each device type, which ensures the hotspots will render appropriately and respond according to the device type and screen size that is being used by a shopper, mobile, tablet or desktop.
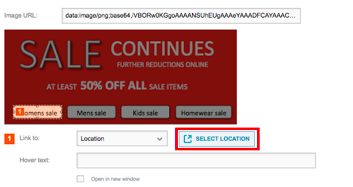
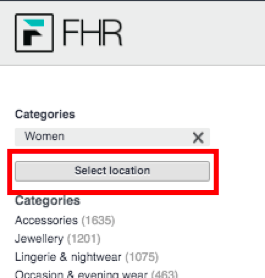
Next, you’ll need to set the location to the Women’s category, or whichever page you want to link this hotspot too:
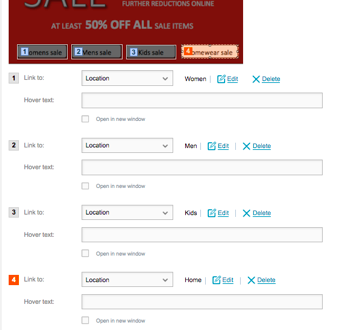
Add a link for each of the remaining categories:
If you are happy with your configuration, click and Save this campaign:
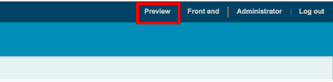
It’s best practice to check the campaign is firing as expected, so go to your Preview site:
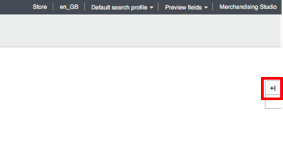
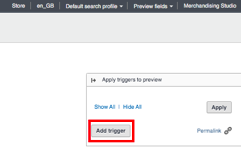
We need to add the device type of Desktop to Preview so the campaign fires…

Now, navigate to any category, to check the campaign image appears and test out the hotspots to see that they link to the configured locations:

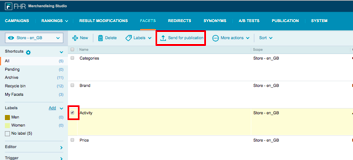
If you are happy with the configuration, go back to the Merchandising Studio and send the campaign for Publication:
Once the campaign is published it will trigger according to your cache process.
Best practice
- Set up a campaign for each device type, which ensures that the image and the hotspots will render appropriately.
- Campaigns can be set up in advance, to do this use the date and time trigger.
- De-active or archive campaigns that are not currently in use, which you can reactivate and publish at a later date (annual/seasonal events).
- Add appropriate labels so you can easily find campaigns.
Thank you for watching this demo video, we hope you have enjoyed this quick introduction to image with multiple link campaigns.
Please do not hesitate to contact us should you have any questions, use this link to raise a ticket.
Your feedback is important to us, please take a moment to let us know if you found this article helpful by clicking "Yes" or "No" in the "Was this article helpful?" section below or by adding a comment.
Comments
0 comments
Please sign in to leave a comment.